 |
| Students learn the skills for making a camera from card stock which can be used easily for model building or set designing and engineering |
 |
| Lining up all the right measurements to make the pin camera |
 |
| the back of the camera which holds the negative in place on the back, which is inserted into the other half of the box |
 |
| this is the other half of the box with the pinhole in the center this is then slipped into the box cover seen here with a negative |
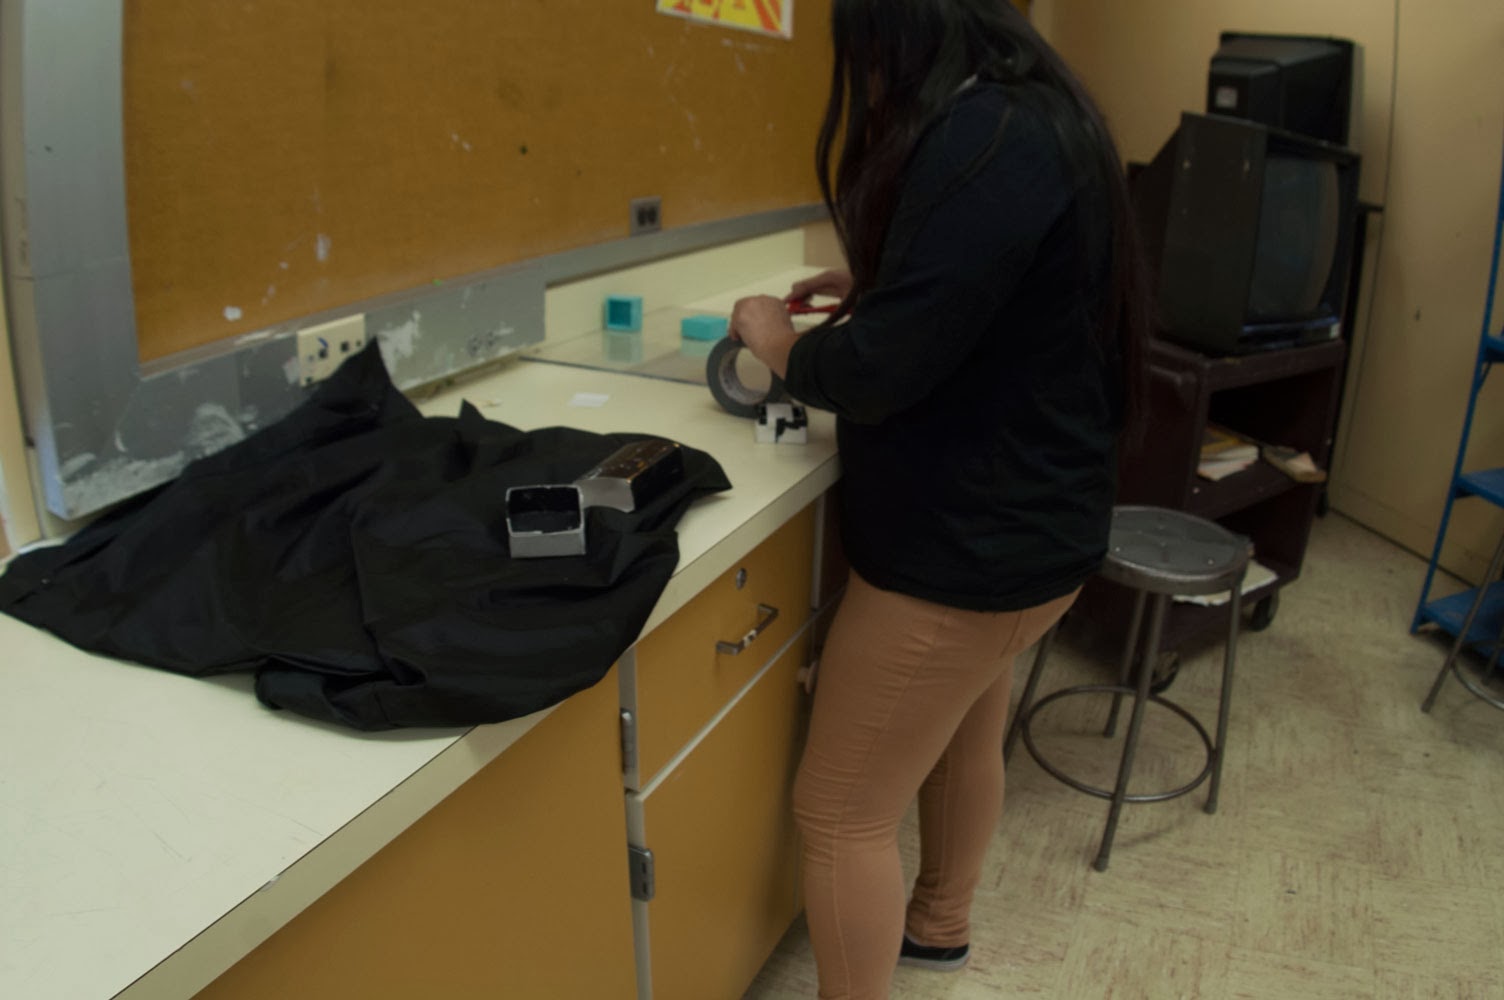 |
| Dinora is making final preparations for her box camera before inserting it into the dark bag the black bag on the counter |
 |
| Once the camera is loaded, it's now ready to take a picture Austin is setting up the tripod and is facing the camera in the classroom, which in these lighting conditions would take 3 minutes more or less |
 |
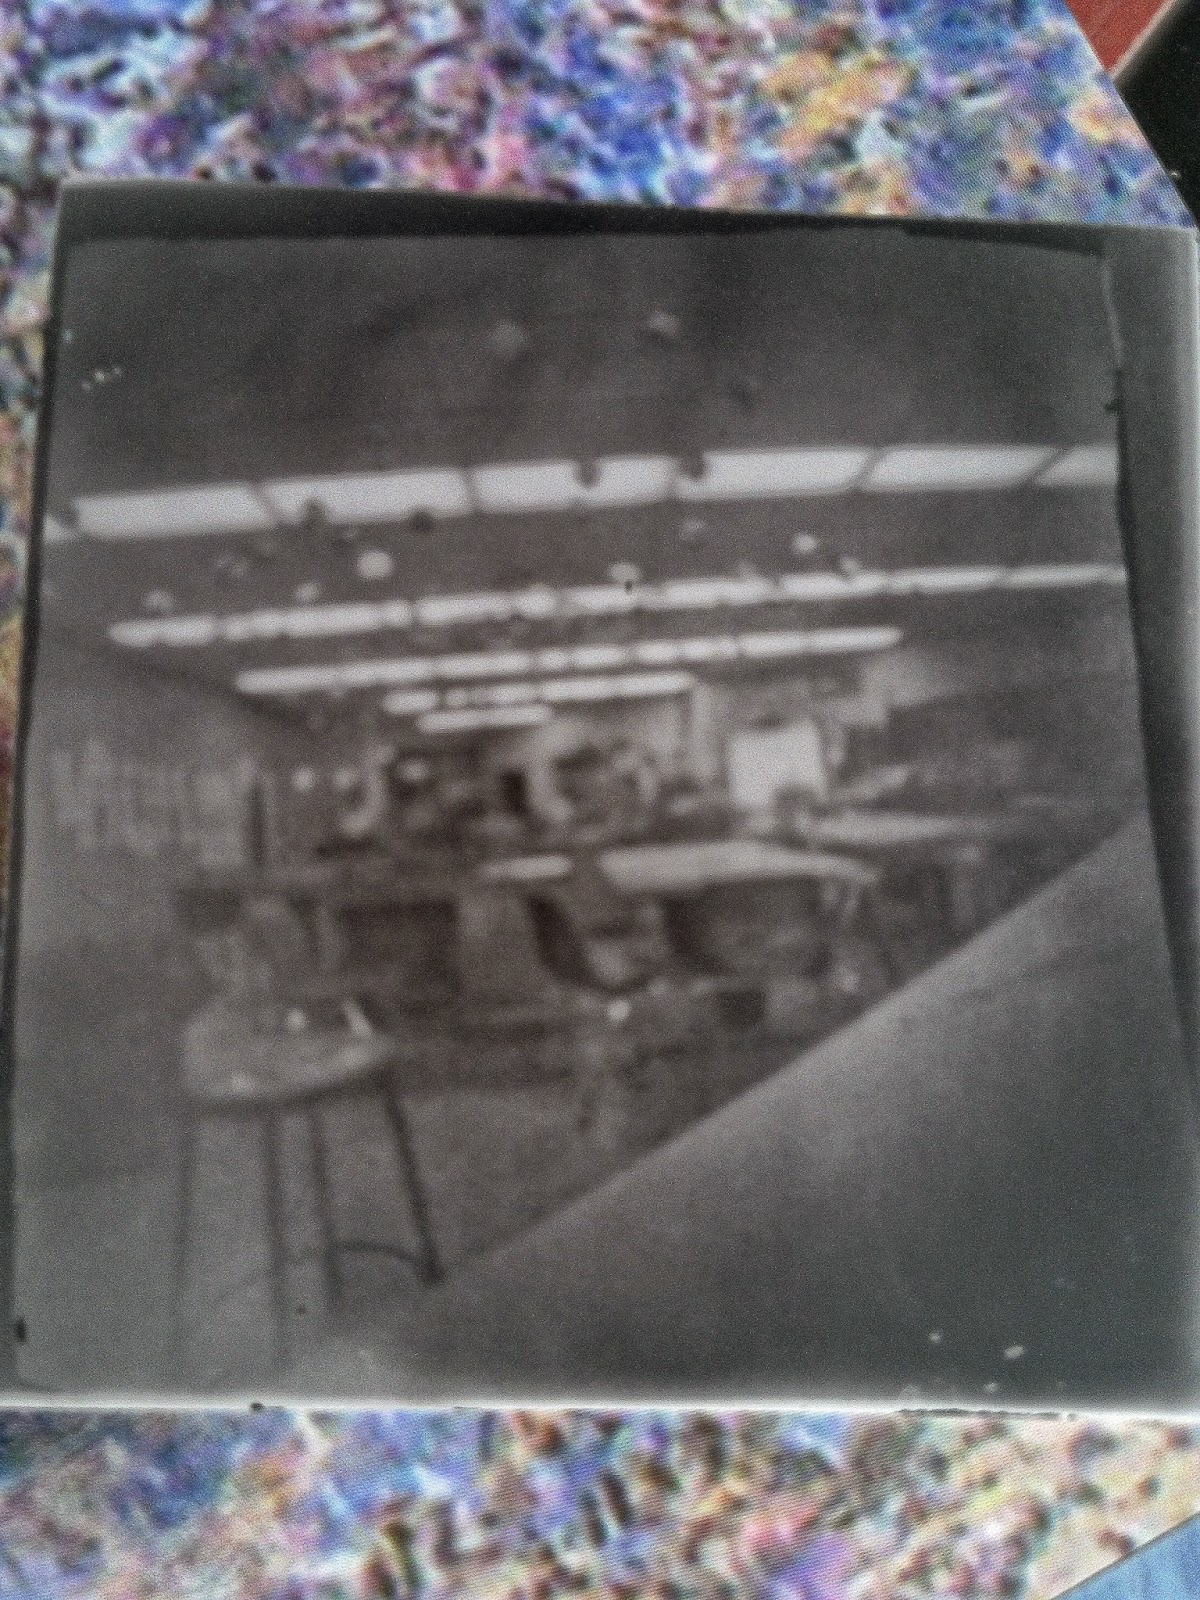
| this is a negative I inverted the negative to be positive for those of you who are here looking at this for the first time |
 |
| this is on ofonee student camera with a few of thegatives |
 |
| This is where we develop the negatives I had two exhaust booths used for spray painting I turned them into dark rooms with a tray of developer and fixer for the pictures looking at the booth you can see attached is a rubber apron hanging over the bottom where the students can stick their hands in the booth and work on the picture. Once inside the booth the camera is dismantled, the negative paper comes out and dipped into the developer for about a minute the fixer for a minute. Once this is accomplished, both the camera and the paper negative are taken out of the booth the paper negative is quickly dipped in plain water to neutralize the chemicals and then to the sink with soap and water giving it a final bath... and then finally a negative |


